There is a set of default Mac tools, such as Disk Utility First Aid, which automatically fix disks, partitions, and file system errors. When the process has finished executing the exit code, everything is going well with the Mac. But notifications like “The volume could not be fully verified” or “The file system check or repair failed…” indicate that a corrupted or damaged file system was detected during the system check.
What Causes the “File System Verify or Repair Failed” Issue
“File system verify or repair failed” problem can occur on internal and external hard drives. The possible causes of this issue are:
- virus attack.
- outdated drivers.
- sudden power outage.
- file system corruption.
- incorrect system settings.
How to Fix “File System Verify or Repair Failed” on Your Mac
Solving the “File system verify or repair failed” error on your Mac is not difficult. But it would be best to be careful with your data during and after fixing this problem. Some of the files may be deleted or lost after fixing the issue. Therefore, before you proceed with the steps below, back up the files on your Mac. Here is how to do it:
1. Connect an external HD to your Mac.
2. Open Time Machine. Click on Apple Menu > System Preferences.
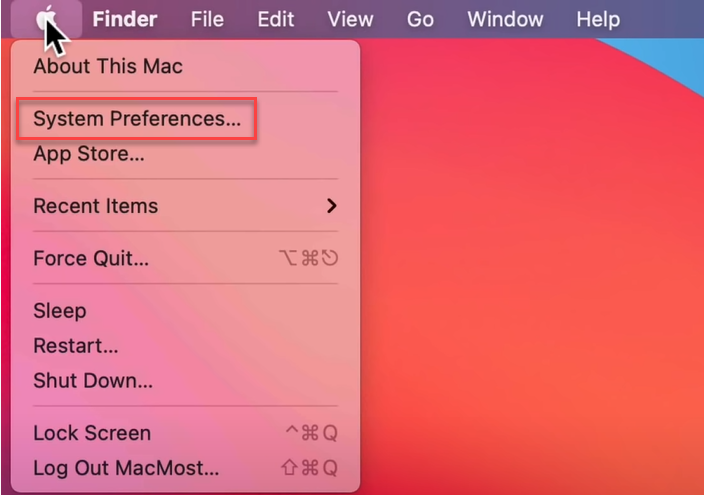 System Preferences
 3. Select Time Machine.
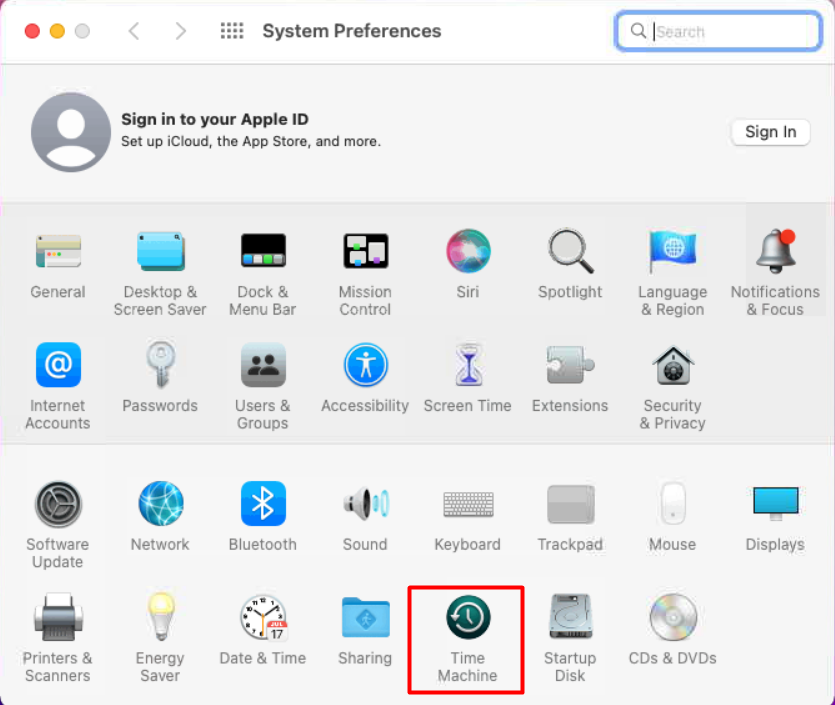 System Preferences > Time Machine
 4. Click on Select Backup Disk.
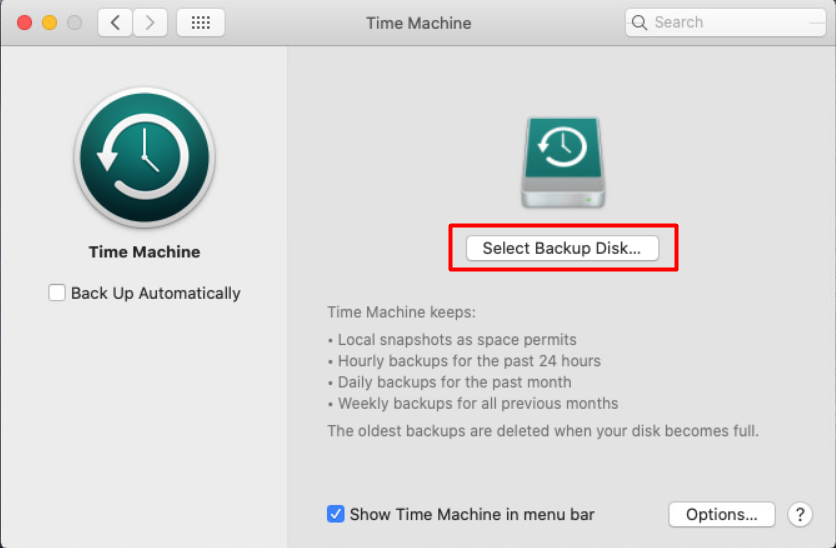 Time Machine > Select Backup Disk
 5. Choose the disk > click the Use Disk button.
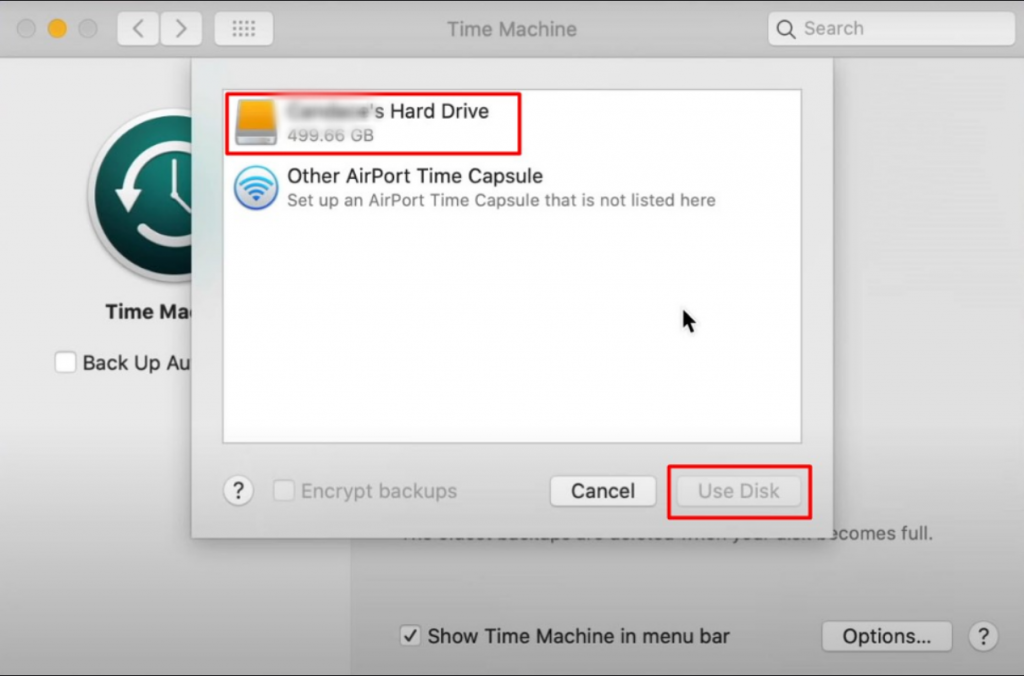 Select Backup Disk > Use Disk
 Now you have the latest backup of your Mac!
If you cannot find your files from a damaged drive, you can also use a specific tool that will help you to recover deleted files. One of those is Stellar Data Recovery Professional. The benefits of Stellar Data Recovery Professional are:
- It recovers almost all file types – from docs to videos.
- It recovers files from crashed Mac.
- It recovers data from non-bootable or crashed USB drives, HD, or SSD.
- It works with the latest macOS version.
- It is compatible with M1-based Macs.
Now let’s move on to 5 solutions on how to fix the “File system verify or repair failed” issue.
I. Restart Your Mac
It is a one-stop solution for all digital devices. After restarting your Mac, previous temporary files, preferences, caches, and other settings will be reset. Believe it or not, many Mac problems can be fixed by rebooting. Here is how to restart your Mac:
1. Go to Apple logo > click Restart.
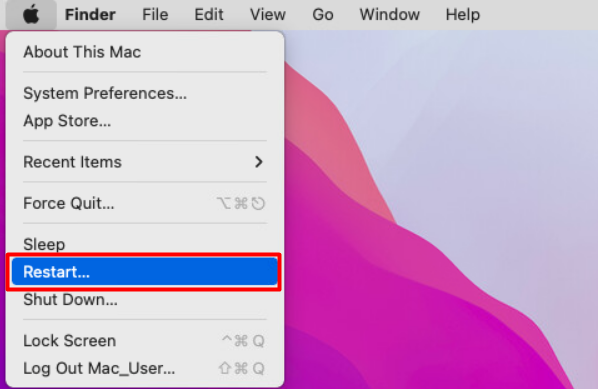 Apple logo > Restart
 2. Wait until your Mac restart and check if the problem disappears.
II. Update Your Mac
Sometimes the issue may occur with the specific macOS version and the latest update may include the fix. That is why updating the Mac software may be helpful in fixing the “File system verify or repair failed” problem.
Here is how to install the latest update for your Mac
1. Go to the Apple menu.
2. Click About This Mac > Software Update.
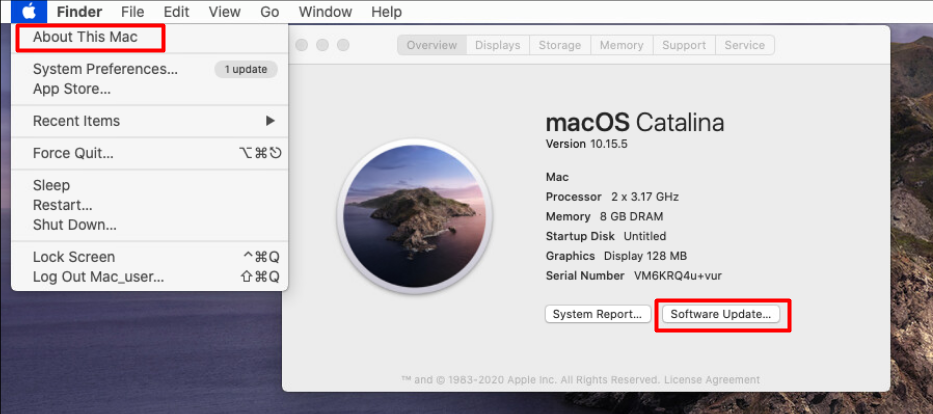 About This Mac > Software Update
 3. If there are any available updates, click Upgrade Now.
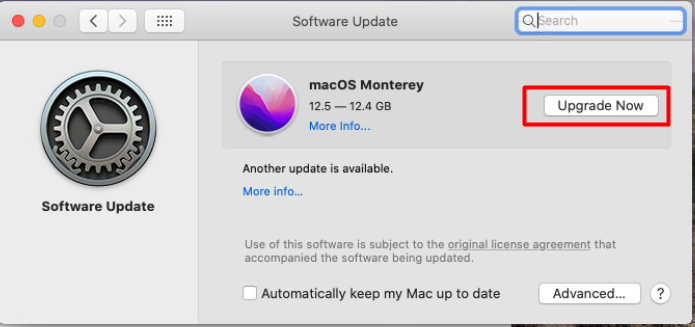 About This Mac > Software Update > Upgrade Now
 III. Run First Aid in Disk Utility
With the First Aid app, you can make quick diagnostics of your disks and partitions. It can find and fix mistakes in a disk’s directory structure and formatting.
First, you will need to open Disk Utility in Recovery Mode. To do that follow the next steps:
For Intel-based Mac:
- Restart your Mac.
- Сlick and hold the Command + R keys.
- Open the Disk Utility when the macOS utility window appears.
For M1-based Mac:
- Restart your Mac.
- Press and hold the Power button until you see the Loading Startup Options.
- Select the Gear icon.
- Open the Disk Utility.
Then run Fist Aid to repair the disk where the “File system verify or repair failed” error appears:
1. In the Disk Utility, choose View on the menu bar > Show All Devices.
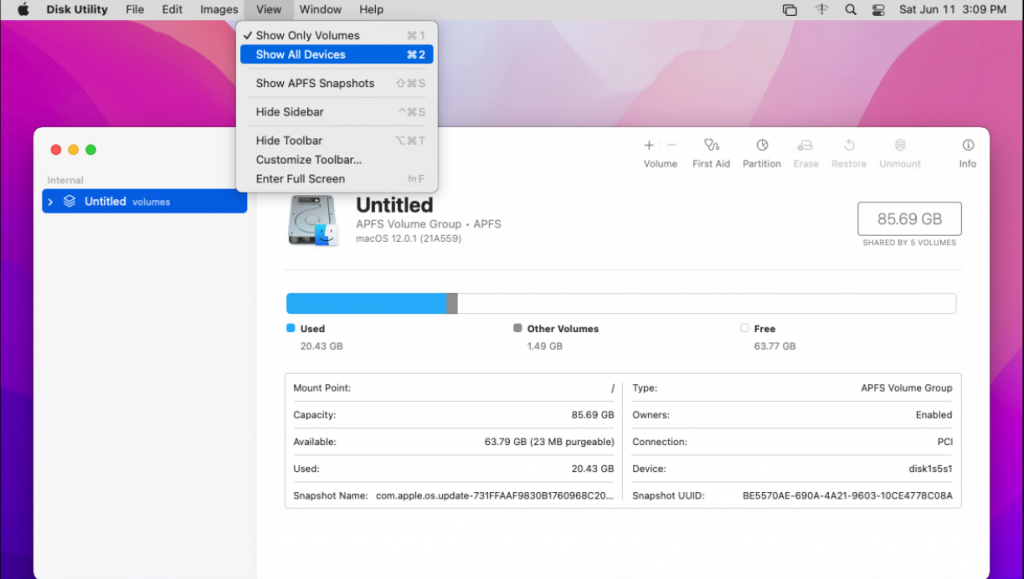 Disk Utility > View > Show All Devices
 2. Select the needed disk or partition > click the First Aid button > choose Run.
3. Restart your Mac to complete the error fix.
IV. Run fsck in Single User Mode
Fsck or file system consistency check is a helpful program for identifying and resolving drive issues. You must boot into Mac Single User Mode in order to perform fsck.
- Turn off your Mac.
- Turn on your Mac and press the Command + S keys to hear the boot sound.
- When you are in single user mode, enter the /sbin/fsck -fy command and click Enter.
- At this point you can see two messages:
- The volume [name] appears to be OK – everything is fine.
- FILE SYSTEM WAS MODIFIED – issues were identified and fixed.
- If you see the second message repeat to enter the /sbin/fsck -fy command till you see the message The volume [name] appears to be OK.
- Restart your Mac.
V. Erase the Corrupted Disk
Another working solution is to erase the corrupted disk and then restore it back.
Check again if you have done a backup of your Mac to make sure you will be able to get all your files back.
To delete the disk, follow these steps:
1. Open Disk Utility from the Recovery Mode again.
2. Select the disk you need to delete > click on Erase and follow the on-screen instructions to finish the process.
Note: If the corrupted disk is an external drive, you will just need to restore it from the backup. But if it’s a Mac internal hard drive (Macintosh HD), you need to reinstall macOS.
How to Restore Lost Files from the Corrupted Drive
To recover a corrupted disk with Stellar Data Recovery Professional do the following:
1. Download and install Stellar Data Recovery Professional from the official website.
 Stellar Data Recovery Professional Webpage
 2. Choose the file types to recover > click Next.
 Stellar Data Recovery Professional > Select what to recover
 3. Select Can’t Find Volume > click Next.
4. Click on the Lost Volume (it is always marked with a flag) > select the Deep Scan option on the bottom left > move on with the scan.
5. When the scan is done select files you need to restore > click on the Recover button when you are done.
Wrap Up
Today, you have learned how to fix the “File system verify or repair failed” error. Follow the steps from the guide and get the problem fixed. If it continues to persist most probably your disk is damaged physically and you will need to have it replaced.
Read more:
Was this article helpful?