Have you noticed colored lines on your MacBook screen? Unfortunately, many Mac users have experienced similar issues with their displays. The color effect may be different. For some, the whole screen becomes pink or green, and others see blue, purple, or green vertical or horizontal lines. In this article, we will explain why these screen glitches appear and how to get rid of them no matter what color you see on your screen.
Reasons Why You See Lines On MacBook Screen
As mentioned above, the issue with the lines on the Mac screen can be represented in many different forms and colors. Here are some of the examples users have reported:
- MacBook Pro with pink screen
- MacBook Pro with purple screen
- MacBook Pro with green screen
- MacBook Pro with blue screen
This is not the complete list of all the possible color lines you might encounter on your screen. Nevertheless, they all mean that you need to address the issue with the screen immediately so it wouldn’t become a permanent problem. Here are some of the reasons that could be causing the MacBook Pro’s pink screen of death and other similar issues:
- Physical damage to the screen
- Extensive overhearing
- Damaged or improperly connected cable
- Outdated or incompatible graphic drivers
- Hardware problems (graphics card or motherboard)
- Various software issues
How to Fix Lines on Mac Screen
Once we point out the reasons why your MacBook is flickering purple or showing blue/black/pink/green lines, it is time to move forward to instructions on how to get rid of them. Make sure to follow the steps and check if the lines are gone before proceeding to the next solution.
1. Reboot Your Mac
A simple restart can help with many temporary issues and system glitches. So it’s worth trying out before any other ways to fix lines on the MacBook screen.
To restart Mac:
- Click on the Apple sign at the top left.
- Choose Restart.
 Apple logo > Restart Mac
 2. Check Cable Connection
Make sure to check for a proper connection to your screen to eliminate issues with the cable. Try to unplug the screen from the Mac and disconnect the power cable. Once connecting back, ensure that both ends are securely attached. You can also try to switch it for a new cable or use a different connection type like USB, HDMI, VGA, DVI, etc.
3. Connect Another Display
Trying a different display helps to identify if the issue with the lines on the MacBook screen is related to this specific display or to the computer you are using. So if you have this issue with an external display, try to connect a different one. And if you see colored lines on the laptop’s built-in screen, connect an external one to your Mac. Focus your efforts on fixing your Mac’s software and hardware issues if the problem persists on any display you connect.
4. Reset SMC
SMC is responsible for power management, LED indicators, sleeping and waking up, and other similar settings required for the correct startup of your Mac. It is recommended to reset SMC if you notice a blue screen on MacBook Pro or other similar display issues.
To reset SMC on Mac with a non-removable battery:
- Unplug your power cable and completely shut down your Mac.
- Simultaneously press and hold the Shift + Control + Option + Power buttons for 10 seconds.
- Release the keys and plug in the power cable.
- Boot your Mac.
The instructions to reset SMC vary for different Mac models. So this specific instruction will not work if you have an older Mac (made before 2009) with a removable battery. Read this article to find out how to reset SMC on each Mac model.
5. Reset NVRAM
Non-volatile random-access memory stores settings that don’t change even when you restart or shut down your Mac. Resetting NVRAM can help when you experience colored lines on the MacBook screen or flickering issues. It also includes settings needed to boot your Mac, such as startup disk selection, speaker volume, display resolution, etc.
To reset NVRAM on Mac:
- Click on the Apple sign and choose Shut Down.
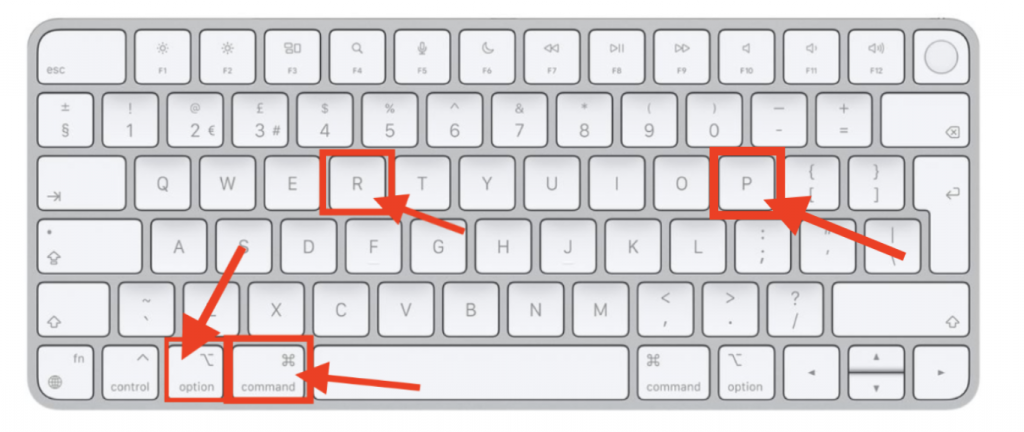
- Start your Mac and immediately press and hold Option + Command + P + R.
- Release the keys once you see the Apple logo twice or hear the startup chime for the second time.
 Hold down Option + Command + P + R
 6. Install Graphic Card Updates
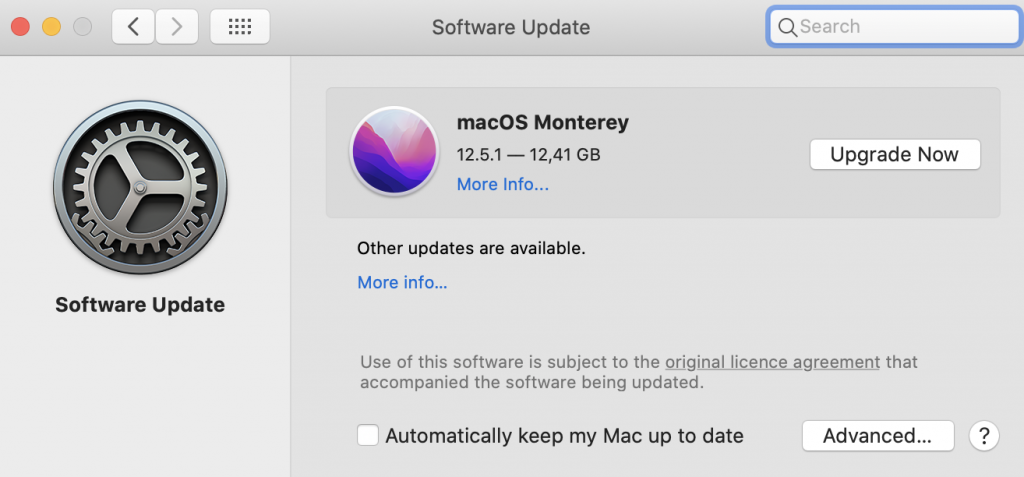
As mentioned before, outdated or improperly installed graphic card drivers can be the reason why your MacBook screen is flickering purple or has other lines on the Mac screen. The graphic card drivers are included as a part of the macOS updates. So to update them, you need to install the latest macOS version.
To update the graphic card drivers:
- Open the Apple menu.
- Select System Preferences.
- Click on Software Updates.
- Install any available updates.
 Software Update tab on macOS Monterey
 7. Reinstall current macOS
This step is helpful if some software errors or glitches cause the issue with lines on the Mac screen. Reinstalling will ensure you have a clean copy of the same macOS without any previous system bugs.
To reinstall macOS:
- Boot into Recovery mode (by pressing and holding Command + R while starting your Mac).
- Choose Reinstall macOS in the macOS Utilities window.
- Click on Continue.
- Follow the onscreen instructions to complete the process.
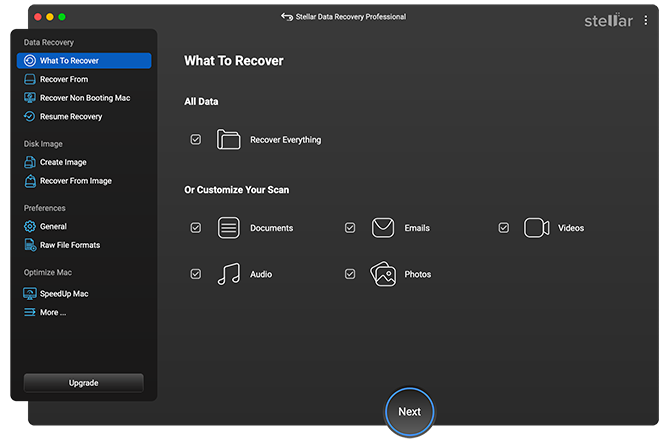
This method reinstalled the exact version of the current macOS, and it shouldn’t remove your personal files. Unfortunately, there is always a chance that something might go wrong. Use a reliable data recovery app like Stellar Data Recovery to prevent possible data loss. With the help of this software, you can recover data from almost any storage device, even if it was formatted or corrupted.
 Stellar Data Recovery > Select What To Recover
 To Sum Up
Blue/pink/green/purple and other lines on the Mac screen shouldn’t be the reason to replace the computer immediately. We hope the solutions described in this article will help eliminate lines and make your screen work normally again. Always have dedicated data recovery software to ensure your data is safe no matter what issues your Mac might experience.
Read more:
Was this article helpful?