Exchange Online (Microsoft 365) offers a lot of features for collaboration. There are public folders, which are used to store data in the organization. Public folders are used for shared access and offer an easy way to gather, organize, and share information with users in a group or organization. Public folders can also be used for archiving mailbox data. In this article, we will be going through the process to set up public folders in Exchange Online.
Process to Set Up Public Folders in a New Exchange Online Organization
Follow the below process to create and set up Public Folders in a new organization in Exchange Online (Microsoft 365):
Before you start
Before going ahead with the setup, you need to ensure that you have the right permissions. The following permissions are needed:
- Organization Management
- Public Folders
- Mail-Enabled Public Folders
Note: Recipient Management is needed only if you have mail-enabled public folders which have an email address associated to them.
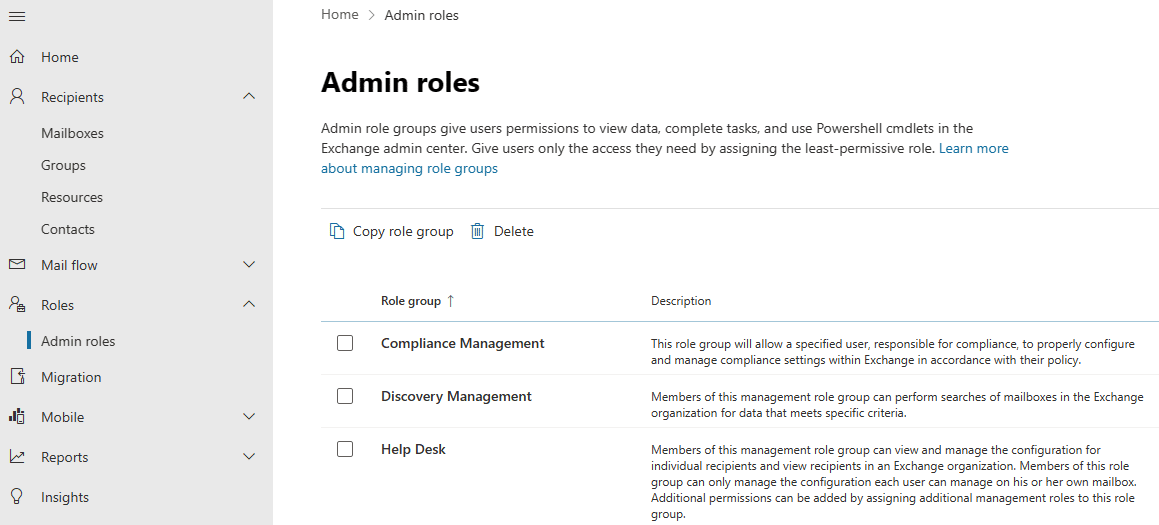
To set these permissions, open the Exchange Admin Center (EAC) and login with your global admin. Then, follow these steps:
- Click on Roles and Admin Roles.
- Click on Add role
- Enter the description and click
- Add the permissions required and add the right members to the group.
Create Primary Public Folder Mailbox
The primary public folder mailbox contains a writable copy of the public folder hierarchy. It is the first public folder mailbox that you create in your organization. It also includes the content of the public folder. To create your first public folder mailbox, follow these instructions:
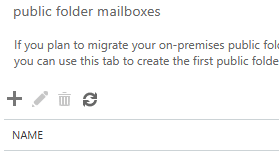
- Log into the Exchange Online Admin Center (EAC), click on Public folders, and then click on Public folders mailboxes.

- On the main page, click on the plus (+) button.
- Enter the name of the mailbox.

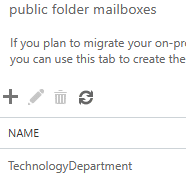
- Click on the Save
- This will create your first public folder mailbox.
Create Public Folders within the Mailbox
After creating the Public Folder Mailbox, the next step is to create public folders within it. For this,
- In the Exchange Online Admin Center (EAC), click on Public folders and Public folders.
- Click on the plus (+)

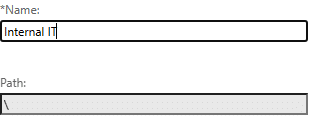
- Enter the name of the folders and click on save.
- The Mail settings will be disabled by default. To modify the permissions and features of the folder, you can highlight the folder and check the right pane.
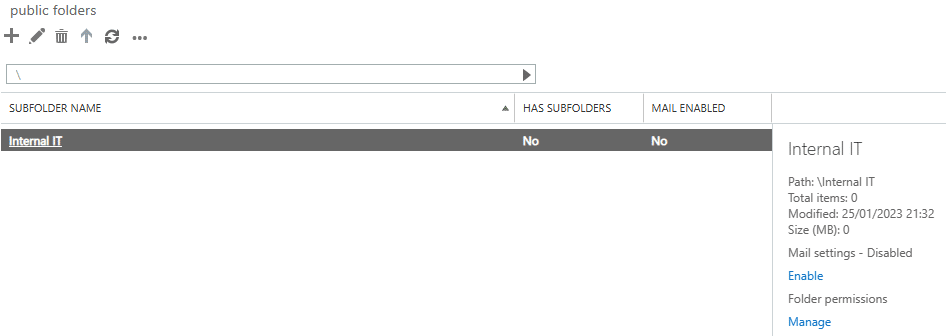
Enable the Mail Settings
- To enable the Mail settings, click on the Enable and click Yes.
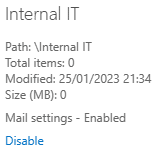
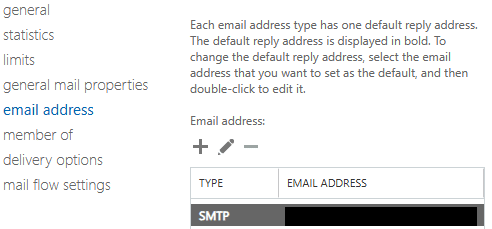
- Once done, highlight the public folder and click on the edit button.
- You can edit the email address by clicking on email address. You can also change it or add other email aliases.
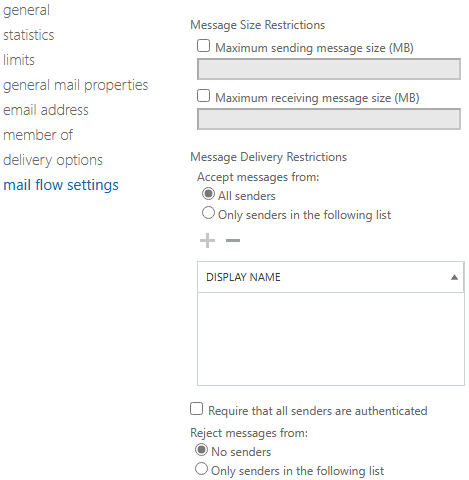
- To change the mail flow setting and apply restrictions, you can click on mail flow settings.
- You can set other limits on the mailbox by clicking on limits.
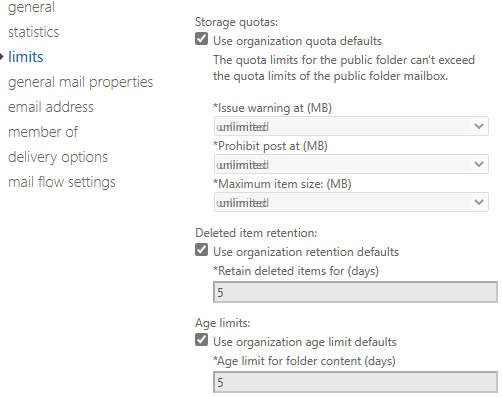
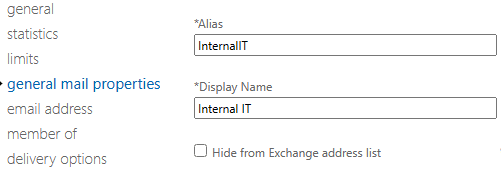
- You can use general mail properties to set other settings, which include the display name and the ability to hide the email from the address book.
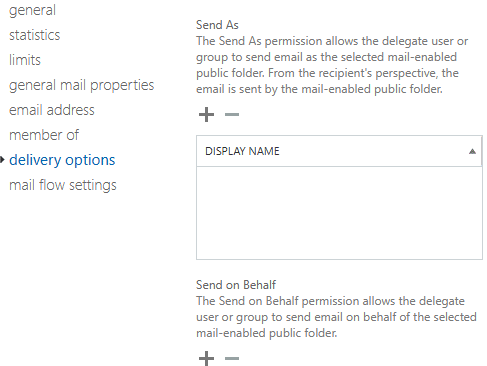
- For setting permissions to Send As and Send On behalf the public folder, use the delivery options section.
Manage Permissions of the Folder
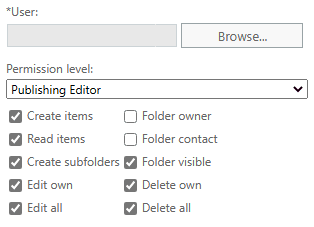
- To manage the permissions of the folder, click on Manage under Folder Permissions and add the users with the required permissions (see below).
Create Sub Folders under Public Folder
- To create sub folder, you need to click on the created public folder. This will open the public folder.

- To create a sub folder, click on the plus button.
- Enter the name and click on Save.
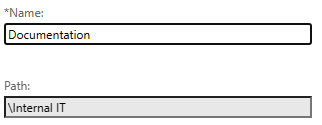
- As with the main public folders, you can manage the permissions and mail settings of each sub folder individually.
How to Migrate Public Folders?
As with all migrations, the public folder to Microsoft 365 migration process is a bit tricky, especially when it comes to migrating a large amount of data. To migrate from a local Exchange Server to public folders on Exchange Online, there are three methods:
Using Outlook
This method is not recommended because it doesn’t give you any progress status. Also, if the process is interrupted, you don’t see the status. If re-started, it will have duplicate data. In addition, it is not suitable for large data transfers. Plus, you need to provide full permission to all the local public folders and online public folders.
Using Scripting
You can use scripting and create migration batches. However, if there are issues with your local Exchange Server or it is not accessible, you will not be able to import any data. Also, your Outlook Anywhere and web URLs must be working successfully. You would need to script your way through the process to prepare the folder and batch. There are a number of failure points that may impact the process.
Using a Third-Party Application
You can use a third-party application, such as Stellar Converter for EDB to make the process easier. The application can open multiple EDB files from any version of Exchange Server with no size limit. You can granularly select mailboxes and public folders and export them to PST and other file formats. You can also directly export to Microsoft 365 tenant or a live Exchange Server database. You can leverage the application features such as parallel exports, priority exports, and automatic mailbox matching for smooth and quick migration.


 4 min read
-to-Office-365-1733.jpg)
