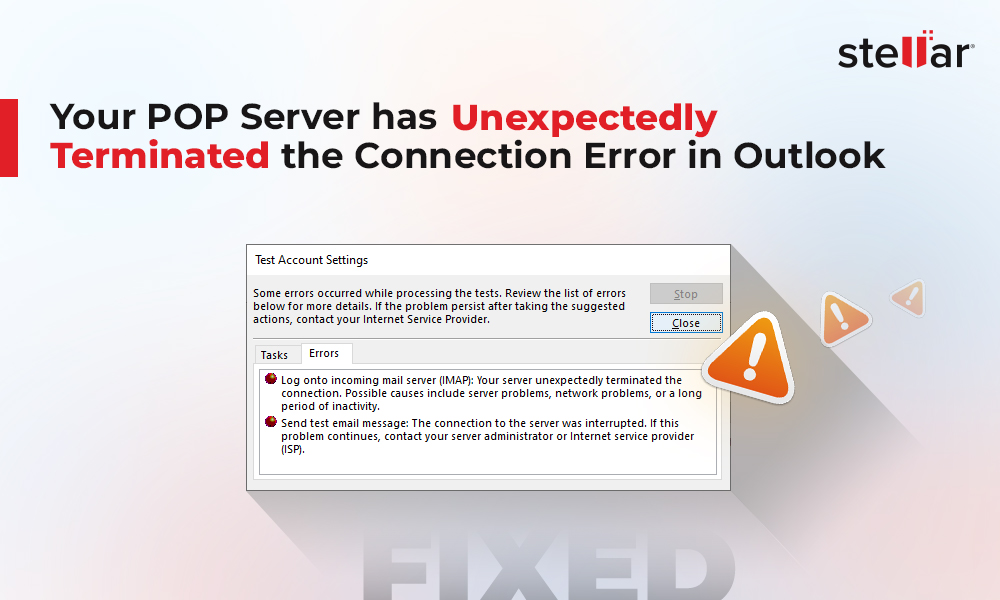
Have you encountered the Outlook Error 0x80040201 when trying to send an email? When this happens, your email is not sent but remains in your Outbox folder. This can be an inconvenience when you’re trying to send an important message.
The Outlook Error 0x80040201 may occur due to different issues, but fortunately, it can be resolved. In this post, we’ll be explaining how to resolve the error 0x80040201 in Outlook.
Before that, let’s look at some possible causes of this error.
What Causes the Outlook Error 0x80040201?
You may encounter the Outlook Error 0x80040201 due to interference by third-party applications, such as antivirus. It is one of the several common Outlook errors that you may encounter while using Microsoft Outlook.
Another common issue is corrupt MS Outlook profile. If your profile gets corrupted, you’ll face errors, such as 0x80040201, when sending mail.
Similarly, the Outlook 0x80040201 error may occur if your cache file is corrupt. For instance, a corrupt auto-complete list cache file.
You may get the unknown error 0x80040201 if you’re sending emails to an email address that’s no longer part of your Exchange Server. The mailbox server may be sending the mail to the alias of the email address (since it was on the same server) rather than the main email address.
Methods to Resolve Outlook Error 0x80040201
Below are the different ways to fix the sending report error 0x80040201 in Outlook:
1. Disable Third-party Add-ins/Software
If the error has occurred due to conflicting third-party applications or add-ins, then disabling those helps fix the issue. According to many users, the most likely third-party software to cause the 0x80040201 error is the antivirus, followed by the firewall. You can disable your antivirus using the settings within the app.
You should also check your Outlook add-ins. Faulty or conflicting Outlook add-ins may also cause the error. In such a case, you can disable the add-ins to resolve the issue.
To disable the add-ins in Outlook, follow the below steps:
- Click on “File,” then click on “Options,” and then “Add-ins.”
- Click on “Go” in the Manage section at the bottom of the window.
- Choose the add-ins you wish to disable from the dialog box.
- Uncheck the box next to the add-ins to disable them or click on “Remove” to permanently delete them.
- Click on “OK” to save the changes.
2. Delete Cache Files
When you delete some items, their settings can still remain in cache. Therefore, it's ideal that you clean it. Clearing Outlook cache files is easy.
Here’s what you should do:
- Close the MS Outlook.
- Press the Windows + R keys to launch the Run dialog box.
- Type “%localappdata%\Microsoft\Outlook” in the dialog box and press the Enter key.
- Open the RoamCache folder to view the cache files.
- Delete the cache files and close the folder.
Relaunch Outlook and try sending your mail.
3. Clear Your Autocomplete List
Outlook adds email addresses that you often message to an autocomplete list. That way, they easily come up when you want to send a new email.
If, for example, the recipient changes their email address and you attempt to send an email to the old email saved in your autocomplete list, you’ll get an error.
To fix this, you can disable the autocomplete list or clear it completely. Here’s what you should do:
- Click on the File tab and select Options.
- Click on the Mail tab from the Options window.
- Navigate to the Send messages section and uncheck “Use Auto-Complete List….” Or, select “Empty Auto-Complete List” to clear the list.
- Click on “OK”.
When you try resending the mail, enter the email address carefully and correctly.
4. Launch Outlook in Safe Mode
There are various ways to launch Outlook in safe mode, but the easiest way is to use the Outlook shortcut. Simply press and hold the CTRL key and then click on the Outlook shortcut. You’ll get a prompt asking if you want to launch Outlook in safe mode. Click “Yes.”
You can also use the Run utility to open Outlook in safe mode. Just press Windows + R keys and then enter “outlook.exe /safe” in the dialog box. Next, choose your profile and click OK. Outlook will launch in safe mode.
5. Set Up a New Profile
If your Outlook profile is corrupt or damaged, you can abandon your existing profile and create a new one. Here’s how:
- Click on “File” and select “Account Settings.”
- Click on “Manage settings” and select “Show Profiles.”
- Click on “Add” to create a new profile.
- Enter the profile name and click “OK.” That’s all.
6. Use Stellar Repair for Outlook
With an advanced outlook pst repair tool, you can fix the unknown error 0x80040201 and other MS Outlook errors, if caused by the corrupt Outlook data file (PST). The tool can easily fix corrupt PST files and helps resolve the error. It can also recover lost or accidentally deleted emails and other mailbox items.
You’ll find the tool easy-to-use. It has a user interface that’s similar to Outlook’s. You only need a few clicks to repair the file.
The tool isn’t free but is moderately priced based on lifetime license. You can get the Professional edition for $79. There’s also the Technician edition for $149 and the Toolkit edition for $199.
Bottom Line
There are different methods, mentioned in the post, to fix the sending report error 0x80040201 in Outlook. Depending on the cause of the error, you can use the respective method. However, if the error occurred due to corrupt PST file, you can use the Stellar Repair for Outlook tool to repair the file and fix the error.


 8 min read


