&media=https://www.stellarinfo.com/public/image/article/How-to-Fix-Excel-Data-Not-Showing-in-Cell-437.jpg&url=https://www.stellarinfo.com/article/excel-not-showing-data-in-cells.php)


Some of you must have experienced that when you try to open an Excel spreadsheet, the cell contents are not entirely visible to you. There could also be instances when the text is visible in the formula bar but it is not not in the cell itself.
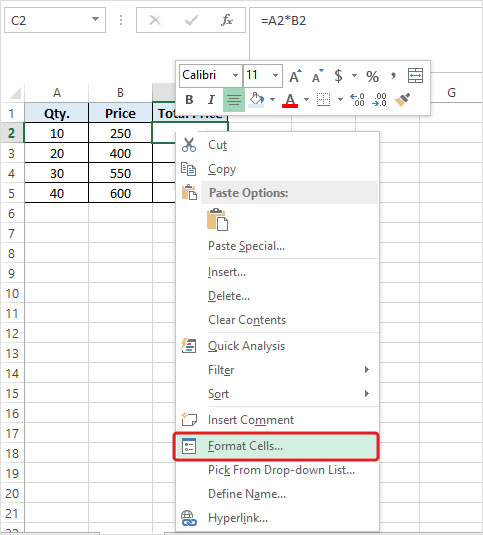
For example, in the following image, the data in cell C2 is not visible, although you can find it in the formula bar. More often, this issue is a result of various formatting issues such as when you use the same text color as the cell background color, or there is incorrect cell dimensions, or changing the format of the selected cells from Custom to Numbers and so on.
Let’s read further and learn more about this problem and its solutions.

Why is the Excel cell data not visible?
Users usually encounter missing Excel cell data due to improper cell formatting, a problem with the cell dimensions, or missing values in cells indicating Excel file corruption.
Let’s understand some causes behind the issue:
Improper Cell Formatting – Improper cell formatting, such as font color, cell background color, cell text orientation, or cell dimension issues, could hide the cell data from the users.
Hidden Cell Values – If the ‘Hidden’ option is selected for specific cells to protect their information, their data will not show in the cells.
File Corruption – A corrupted add-on or Excel file corruption may cause Excel to show incomplete/missing data from the cells.
Workarounds to Fix Excel Not Showing Data in Cells Issue
If you cannot figure out why your Excel worksheet has some cells with missing data, you can clear the format of those cells by clicking on Clear > Clear Formats in the Editing section on the ribbon. You can also change the cell formatting of those cells to text or use the AutoFit Column Width functionality. You can also use the Wrap Text option to make the text completely visible in a cell.
However, if none of these help you make the missing Excel cell data visible, use the methods explained below.
Workaround 1 – Check for Hidden Cell Values
If cell values are hidden, you won’t be able to see data when a cell is selected. But the data will be visible in the formula bar. To display hidden cell values in a worksheet, follow these steps:
- Select a single cell or range of cells that doesn’t show the text.
- Right-click on the selected cell or range of cells and choose Format Cells.
- A ‘Format Cells’ window opens. On the Number tab, choose Custom and check if 3 semi-colons (;;;) appear in the Type textbox.

Workaround 2 – Change the Default Font
The font of cells in your Excel worksheet may be creating the problem. So, try changing the default font of cells or ranges:
- Select a cell or cell range where the text is not showing up.
- Right-click on the selected cell or cell range and click Format Cells.
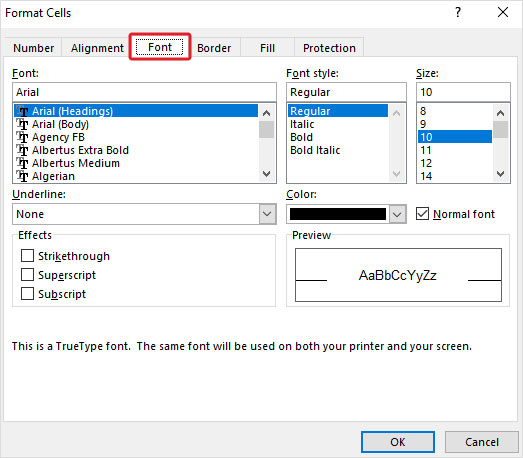
- From the pop-up window, click on the Font tab and then change the default font (usually Calibri) to any other font, like ‘Arial’ or ‘Times New Roman’. Press the OK button.
- If changing the default font doesn’t fix the ‘Excel data not showing in cell’ problem, proceed with the next workaround.
Workaround 3 – Disable Allow Editing Directly in Cell Option
Some users have reported that they were able to resolve the ‘Excel data not showing in cells’ issue by unchecking the ‘Allow editing directly in cells’ option. To do so, follow these steps:
- In Excel, click on the File menu and then click on Options.

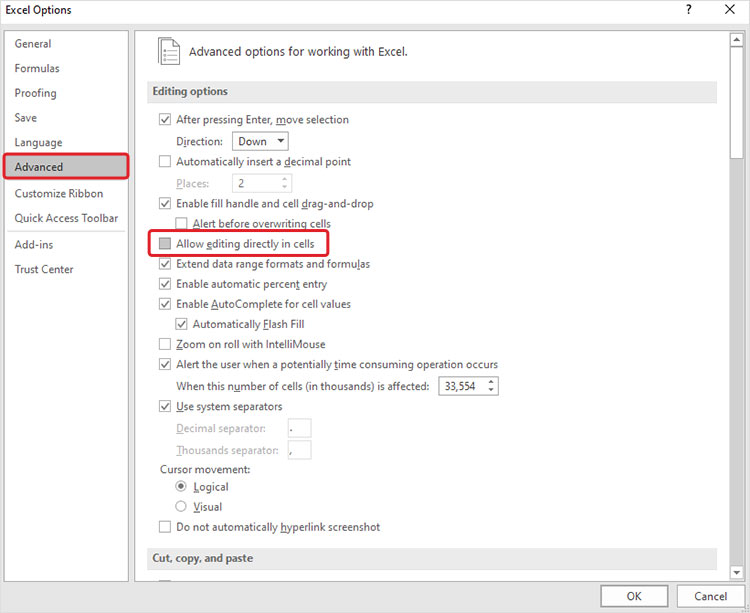
- From the Excel Options window, choose Advanced in the left pane and then uncheck ‘Allow editing directly in cells.’
- Click OK.
If you are unable to view the text in Excel cells, try the next workaround.
Workaround 4 – Adjust Row Height to Make the Cell Data Visible
If you have cells with wrapped text, try adjusting the row height of the cell or range to make the data visible. Here are the steps:
- Select a specific cell or range to adjust the row height.
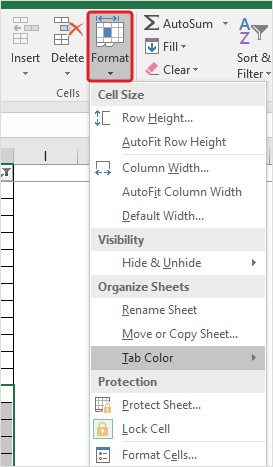
- On the Home tab, click Format.
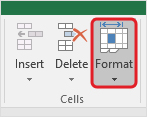
- Under Cell Size, perform any of these actions:
- Click AutoFit Row Height to automatically adjust the row height of your cell or cell range.
- Click Row Height to manually enter a cell’s row height. This will open a ‘Row Height’ box. In the box, enter the row height that you want.
Workaround 5 – Repair Corrupted Excel File Using an Excel File Repair Tool
If the Excel worksheet still won’t display data in cells and all the workarounds shared above fail, the Excel worksheet is probably damaged or corrupted. In that case, you can use MS Excel’s built-in Open & Repair utility to help you restore the data that is not showing in the cells. However, if this open & repair tool doesn’t work, it could indicate severe Excel file corruption. In such a case, you can use an advanced Excel repair tool – Stellar Repair for Excel.
This DIY Excel file repair software allows you to accurately restore all Excel objects that are missing due to corruption or any other reason. Using the Excel file repair tool can help you retrieve all your worksheet data, including cell content, tables, numbers, text, rules, etc. This tool seamlessly repairs problematic Excel files of various formats like .xls, .xlsx, .xltm, .xltx and .xlsm showing errors or problems.
Read this: How to Recover Corrupted Excel File?
Wrapping Up
Often, when opening an Excel worksheet or while working on one, clicking on a cell or cell range doesn’t show any data. You may see the data in the formula bar of your worksheet but not within the cells. Try troubleshooting the issue using the workarounds discussed in this article.
If nothing works, chances are that corruption in the Excel file is causing it to behave oddly. Try repairing the corrupt Excel file using Stellar Repair for Excel. This powerful Excel file repair tool will help you quickly resolve the issue and restore your worksheet with all its data intact.
You might also be interested in reading:


An experienced Senior Content Developer with a deep interest in technology.

 7 min read